前言
此前一直使用macOS,由于mac有着良好的开发生态,以及软件生态.所以它是部署开发环境是极佳的操作系统.最近由于某些原因需要使用Windows.众所周知,Windows在这方面远不如mac/Linux.虽然这是硬伤,但怎么样才能让他变得更好用一些.那么WSL功不可没.
安装Ubuntu 18.04子系统
首先在功能中打开WSL,然后去自带的商店中安装Ubuntu.不多详说.
配置终端(WSL)
Windows自带的powershell并不好用,即使是比cmd好用那么一点点,也是远不及mac的iTerm2的.但是我们可以选择使用cmder代替powershell.
https://cmder.net/
设置默认wsl.
配置Ubuntu子系统
从终端开始, 使用zsh代替bash1
2
3
4
5sudo -i
cd
apt update && apt install zsh wget git curl python3 -y
curl https://raw.githubusercontent.com/SorashitaInnei/zshconfig.zshrc/master/WSL.zshrc >> ./.zshrc
source ./.zshrc
默认登录使用root身份,设置root密码1
sudo passwd root
在开始按钮右键,在弹出菜单中打开 Power shell,执行下面命令,查看已安装的 Linux 子系统:1
wslconfig /list
Power shell 设置 WSL Ubuntu 默认登陆用户root1
ubuntu1804 config --default-user root
Power shell 执行下面命令,可查看 Ubuntu 命令的帮助信息:1
ubuntu /?
apt 更换阿里云源
执行下面命令,备份 apt 安装源:1
sudo cp /etc/apt/sources.list /etc/apt/sources.list.bak
vim 编辑 sources.list :1
sudo vim /etc/apt/sources.list
在 sources.list 中添加 apt 阿里云源:1
2
3
4
5
6
7
8
9
10deb http://mirrors.aliyun.com/ubuntu/ trusty main restricted universe multiverse
deb http://mirrors.aliyun.com/ubuntu/ trusty-security main restricted universe multiverse
deb http://mirrors.aliyun.com/ubuntu/ trusty-updates main restricted universe multiverse
deb http://mirrors.aliyun.com/ubuntu/ trusty-proposed main restricted universe multiverse
deb http://mirrors.aliyun.com/ubuntu/ trusty-backports main restricted universe multiverse
deb-src http://mirrors.aliyun.com/ubuntu/ trusty main restricted universe multiverse
deb-src http://mirrors.aliyun.com/ubuntu/ trusty-security main restricted universe multiverse
deb-src http://mirrors.aliyun.com/ubuntu/ trusty-updates main restricted universe multiverse
deb-src http://mirrors.aliyun.com/ubuntu/ trusty-proposed main restricted universe multiverse
deb-src http://mirrors.aliyun.com/ubuntu/ trusty-backports main restricted universe multiverse
配置ssh为下一步做准备
1 | apt install openssl ssh -y |
修改默认端口1
nano /etc/ssh/sshd_config
把Port改成233, PermitRootLogin 改成yes,PasswordAuth改成yes,然后1
service sshd restart
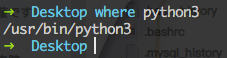
安装python开发环境 pycharm映射WSL中的python3
由于windows没有linux的某些特征,所以我们需要使用Linux的python来作为主要解释器.
1 | apt install python3 python-dev -y |
打开pycharm pro,在这个选择WSL,输入一下用户密码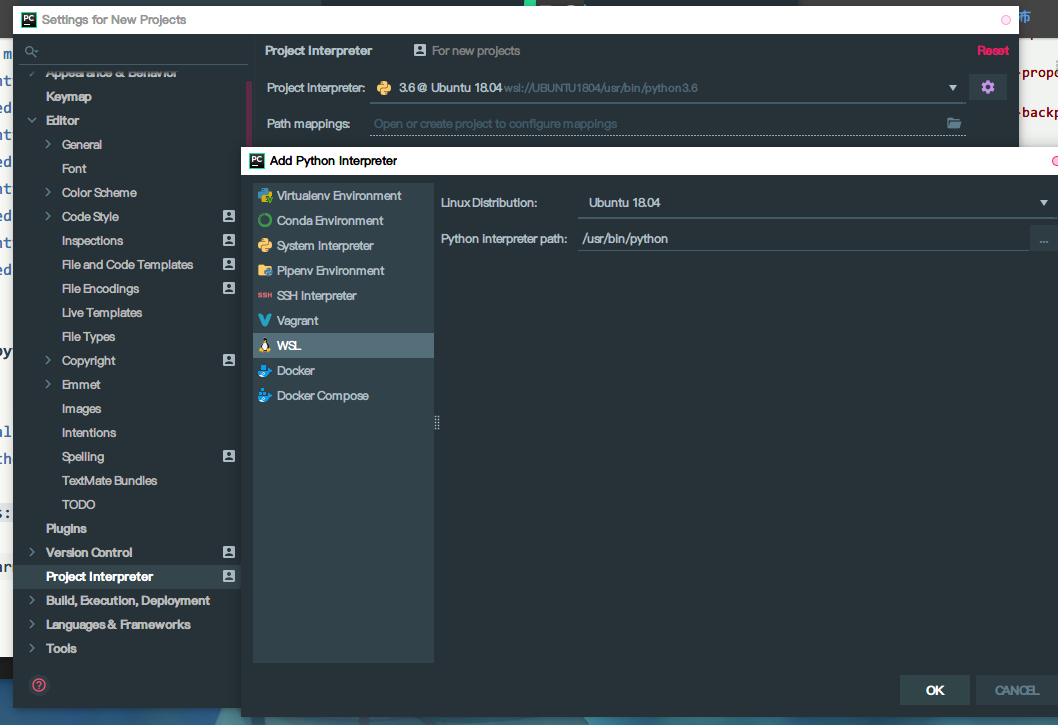
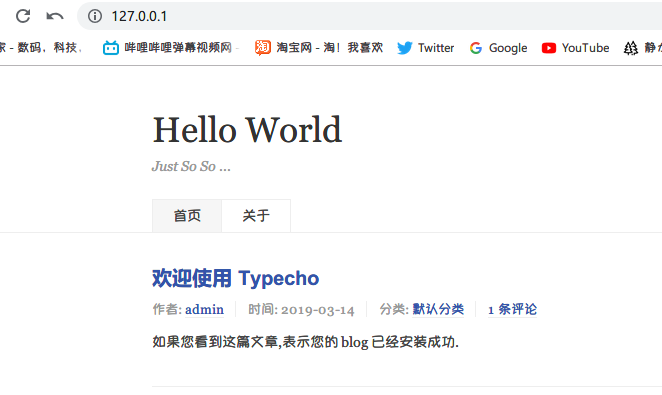
配置lamp环境(用于本地调试)
安装apache2,php7,mysql5.7
1 | apt install apache2 php php-mysql php-fpm mysql-server php-xml |
缺一不可.
我在这里遇到了500报错,utf报错是因为没装php-mysql和php-xml
配置apache2
默认路径修改成windows的路径会报403,这里除了要设置一下DocumentRoot,还要在apache2.conf中设置一下
1 | <Directory /mnt/c/Users/yiny/sites/> |
这样就可以了